- Painting Tips & Techniques
Painting Your First Room: A Step-by-Step Guide
If you’ve never painted a room before, the prospect can feel daunting. But as many seasoned DIYers would agree, the experience can be enjoyable and rewarding. If you’re looking to transform a room with a fresh coat (or three) of paint, read on for all you need to know.
Step 1: Choose Your Colors
This first step is often where people get stuck. Choosing colors is a big decision, but it doesn’t have to be stressful. Start by considering the room. Look for paint shades that will complement the decor. Lighter paint colors can make smaller or dimly lit spaces feel brighter and more open, while darker colors can make larger rooms feel more comfortable. If you have a low ceiling, painting it a lighter color than the walls can make the ceiling seem higher.
Crucially, think about the kind of mood you want to create in that space. Some colors will add energy, while others will encourage relaxation. For bonus points, note the colors of other spaces in your home. Choosing colors that flow well with those existing colors helps create a sense of harmony throughout.
That might seem a lot to think about, but it all gets simpler when you sample colors with Samplize. Here’s how that works.
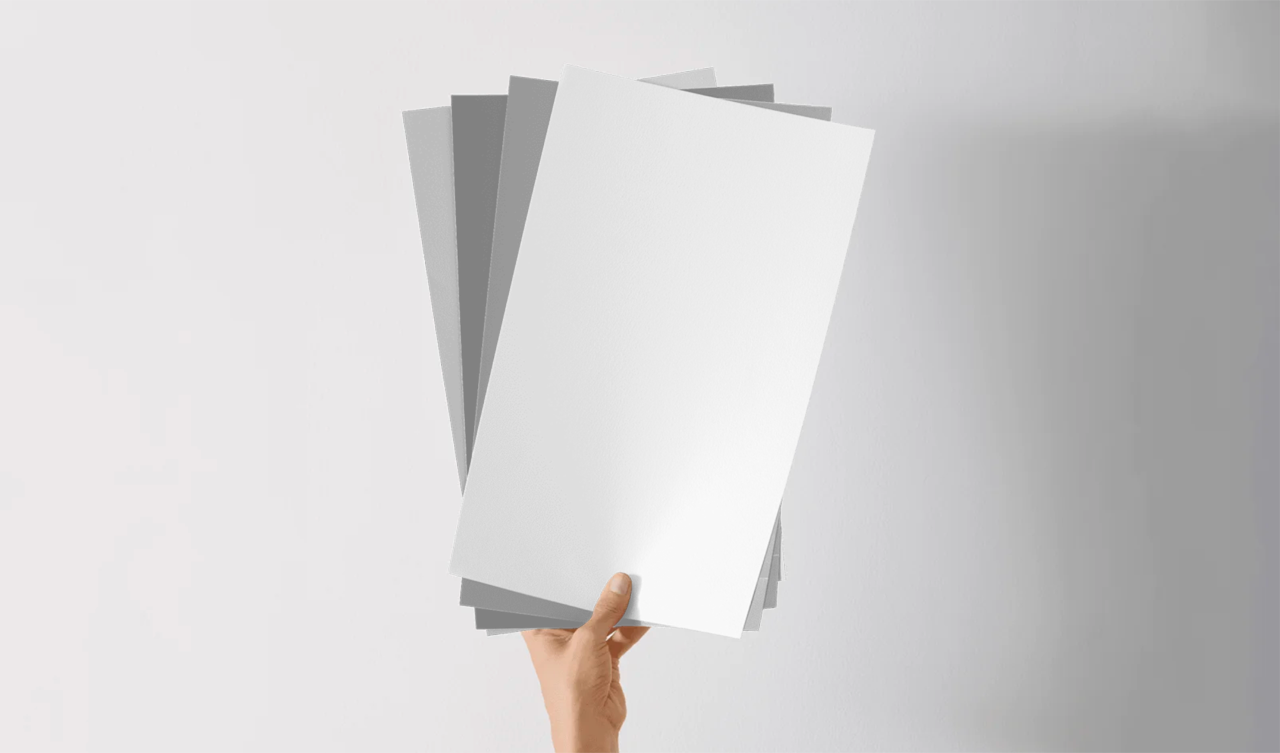
Choose Your Samples
Start by browsing our huge collection of paint colors, starting here. You can go with some of our color bundles or handpick a stack of samples in just a few minutes. Finish your order, and your peel-and-stick samples will arrive on your doorstep the very next day.
Peel and Stick
Your samples will be painted (not printed) with two coats of real paint, so you’ll be able to really see how each shade will look in your room. Make sure to test a sample on an inconspicuous spot and then feel free to apply them all side by side for easy comparison.
Dream, Deliberate, Decide
Take your time, here. Turn the lights on and off, draw the curtains, wait for sunset, light some candles—explore how each color behaves in each condition. After all that, if you haven’t found your colors yet, just repeat steps one and two until you do.
Step 2: Choose Your Finish
Once you have your colors, your next step is deciding on a finish. This is important too, as finish affects both the look and durability of your painted surfaces.
-
Flat or matte finishes have no shine and are great for hiding imperfections. This makes them ideal for ceilings and low-traffic areas like adult bedrooms.
-
Eggshell and satin finishes offer a soft sheen and are easier to clean, making them great for living rooms, hallways, and kid’s bedrooms.
-
Semi-gloss is more durable and moisture-resistant, perfect for kitchens, bathrooms, and trim work.
-
High-gloss finishes are very durable (great for doors, cabinets, and other high-touch surfaces), but keep in mind that they can highlight flaws.
Consider the room’s function, amount of traffic, and amount of lighting to choose the finish that balances aesthetics and practicality.
Step 3: Calculate How Much Paint You’ll Need
No need to guess how many gallons you’ll need. Start by measuring the height and width of each wall. Multiply those measurements to get the wall’s area. Subtract any windows, doors, and areas you don’t plan to paint. Add each wall’s to-be-painted area together and you’ll have your total square footage. Let’s call that X.
Next, check your paint to see how much area one gallon typically covers with one coat. Multiply that by how many layers you expect to need (at least two coats is usually best). Let’s call the number you get here Y.
Finally, divide X by Y to find out how many gallons of paint you’ll need. (When in doubt, round up).
Note that if you’re painting your ceiling the same color as the walls, include that in your initial square footage number. If you’re painting it a different color, you’ll need to do these steps separately for that paint amount.
Step 4: Gather Your Tools and Materials
Once you have your paint and any primers you intend to use, you'll need:
-
A variety of brushes for cutting in edges and corners.
-
Rollers, paint trays, liners, and an extension pole if you’re painting the ceiling.
-
Painter’s tape to protect trim, windows, and fixtures
-
Drop cloths or plastic sheeting to safeguard floors and furniture.
-
A step ladder to help you paint higher areas accurately and safely
-
A stir stick or paint mixer to keep your paint evenly blended.
-
A damp cloth or sponge to quickly clean up drips and spills.
-
Protective gear (or clothes you don’t mind taking on some extra color)
A lot of this can, of course, be found second-hand—just make sure your brushes and rollers are of good quality and in good condition.
Step 5: Prep the Room
Take down curtains, light switch plates, outlet covers, and any artwork. Remove as much furniture as you can. Move the rest to the center of the room and cover with plastic sheets. Cover the floors with drop cloths.
Step 6: Prep the Walls
Use a mild detergent and water to remove dirt, grease, and stains from the walls. Once they’re dry, check for any holes, cracks, or peeling paint. Fill holes and imperfections with spackle or wall filler, then sand the areas until they're flush with the wall. Sand glossy or uneven surfaces lightly to create a texture your paint will adhere to. Lastly, wipe down the walls with a damp cloth to remove dust and debris.
Step 7: Apply Painter’s Tape
Cover trim, baseboards, windows, and door frames with painter’s tape. Take your time on this step to ensure nice, crisp lines.
Step 8: Apply Primer
If you're painting over a dark color or a surface with stains or patches, apply a quality primer to ensure even coverage and color accuracy.
Step 9: Paint!
This is when your vision starts to come to life.
If you’re painting your ceiling, do that first to avoid drips on finished walls. Using a roller with an extension pole to apply paint evenly across the ceiling in small sections. Work in parallel strokes and maintain a wet edge to ensure a smooth and consistent finish.
Next, use an angled brush to cut along corners, trim, windows, doorframes, etc. Once that’s done, switch to a roller for the rest of the wall areas. Pour paint into a tray and load your roller evenly with paint. Apply the paint in a W or M motion and then fill in around the “letter” with smooth, overlapping strokes to avoid streaks and roller marks.
Work in small sections and maintain a wet edge to blend the paint seamlessly. Let the first coat dry according to the manufacturer’s instructions before applying a second coat, if needed, for full coverage. When the walls are done and dry, gently remove your painter’s tape and touch up any missed spots.
Step 10: Clean Up
Thoroughly wash your brushes, rollers, and trays with warm, soapy water (or the appropriate solvent for oil-based paints). Squeeze out excess water and reshape the brushes before laying them flat or hanging them to dry.
Dispose of used drop cloths, rags, and empty paint cans following your local guidelines. Store any leftover paint in a sealed container for any future touch-ups.
Once everything is back in place, make sure to stop and enjoy your handiwork!
Painting FAQs
How Long Does It Take to Paint a Room?
This depends on several factors, including the room’s size, the number of coats needed, etc. That said, smaller rooms tend to take around five hours and medium rooms around seven, while larger rooms can take as long as 12 hours or more.
This is definitely not a project to rush—take your time for best results.
How Much Does it Cost to Paint a Room?
Depending on the size of the room, the state of the walls, the quality of materials, etc, painting a room yourself can cost as little as $75 or as much as $200.
How Long Should I Wait Between Coats of Paint?
While four hours is almost always enough, drying times can vary depending on factors like the type of paint, room temperature, humidity, and ventilation, etc. Always check the paint manufacturer’s recommended drying time, and make sure the surface feels dry and not tacky before applying the next coat.
It All Starts With Inspiration
Ready to get started? Click here to find the exact colors that inspire you!